
type
status
date
slug
summary
tags
category
icon
password
Property
Jan 2, 2024 07:24 AM
准备材料
- CloudFlare 账号
注意事项
- 由于 Workers 节点的 IP 变动频繁,因此请勿在此节点登录重要账号
- 请勿滥用!
部署步骤
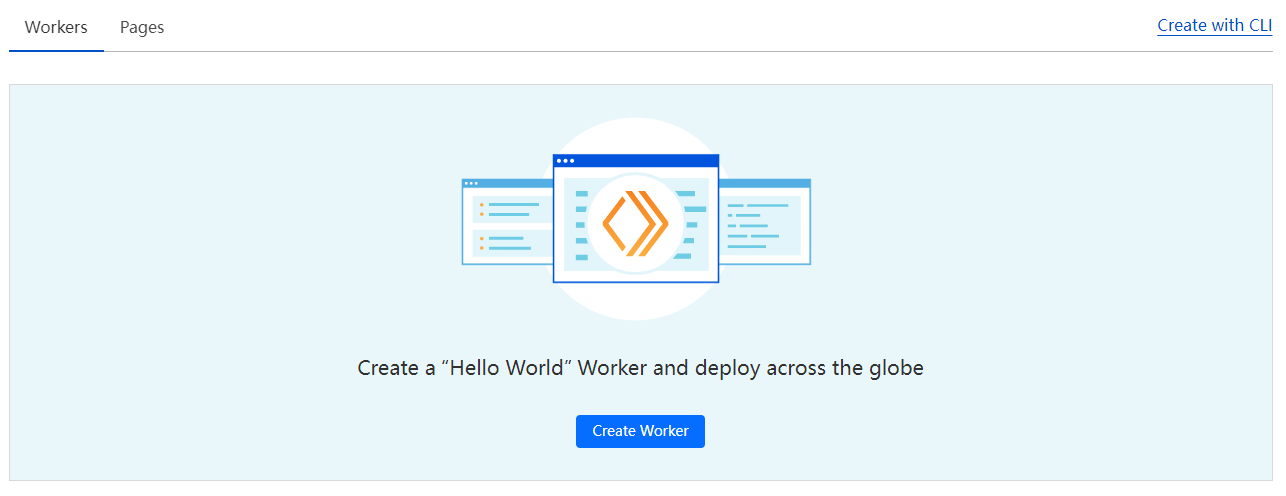
- 注册 CloudFlare 账户,转到“Workers & Pages”页面,点击“Create Application”按钮

- 点击“Create Worker”按钮
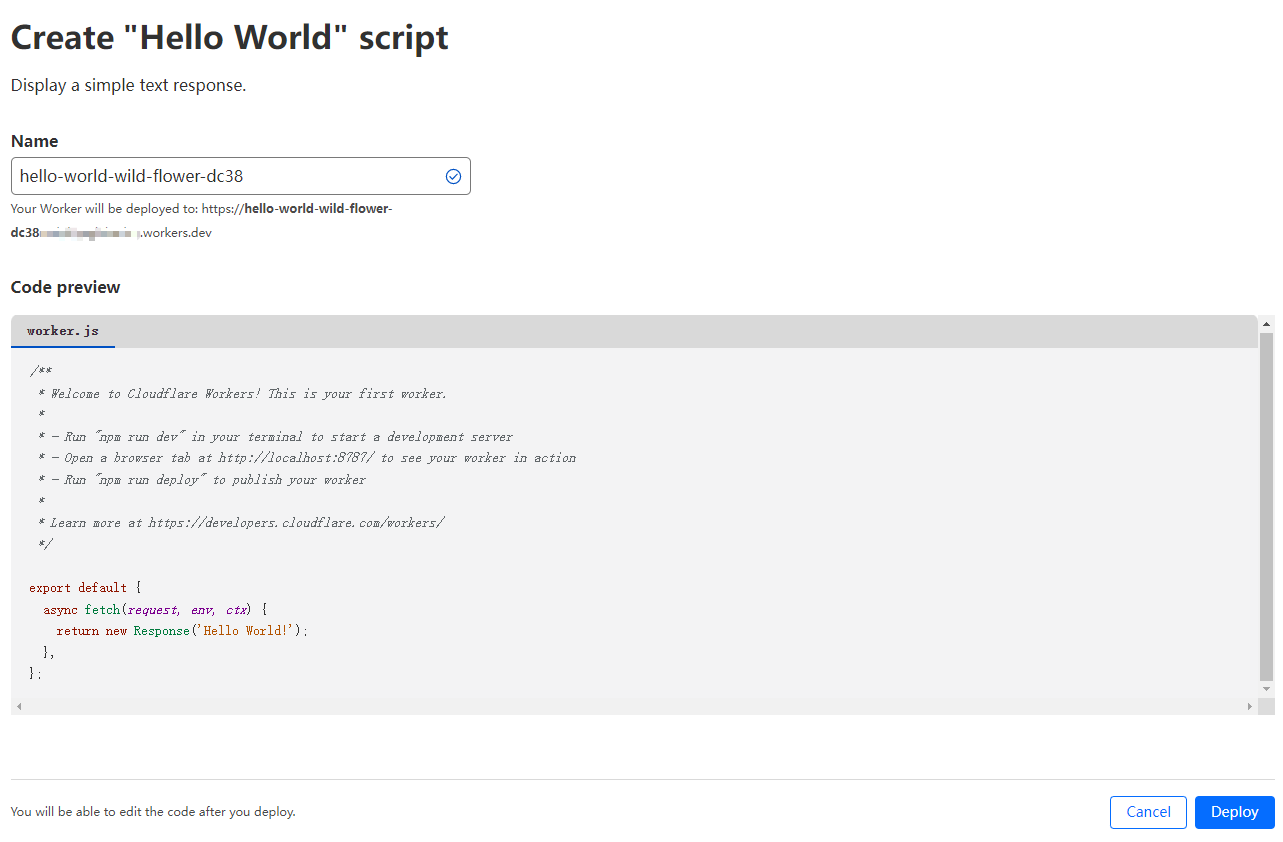
- 设置workers的名称,点击“Deploy”按钮
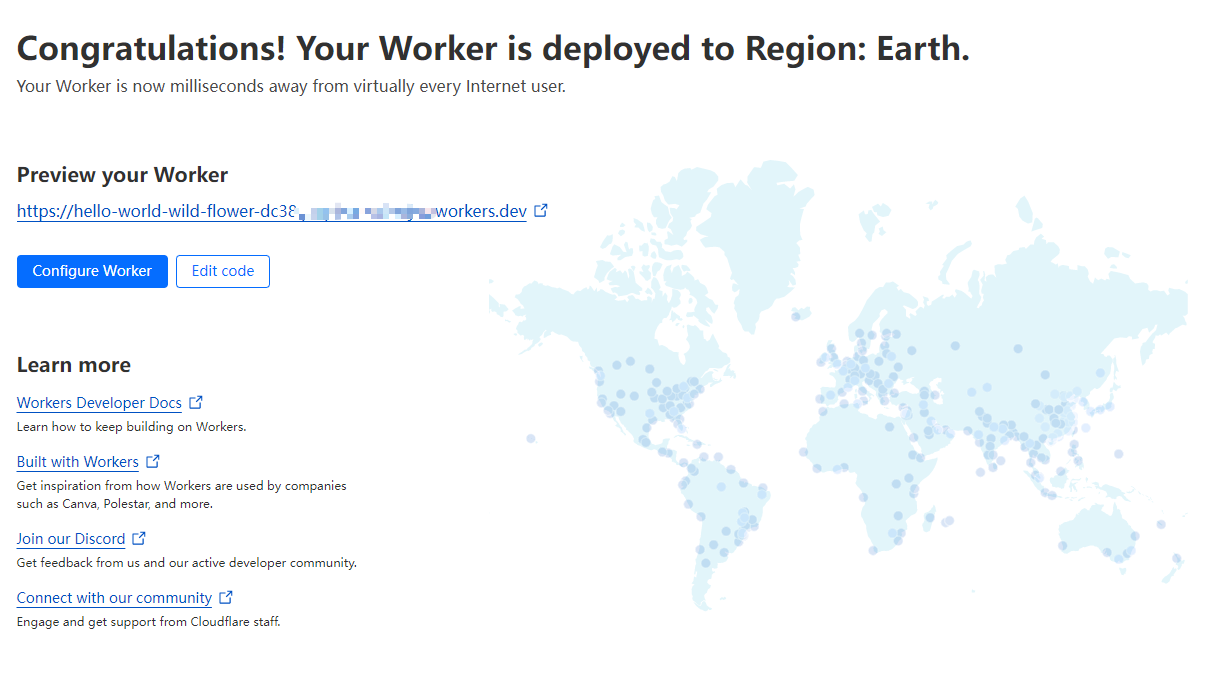
- 点击“Configure Worker”按钮
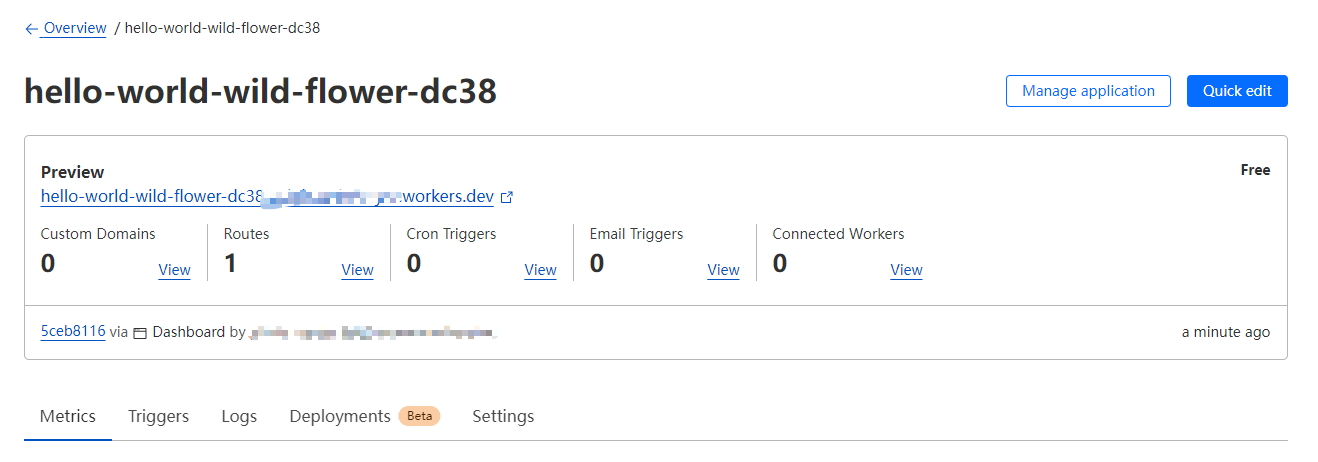
- 点击“Quick Edit”按钮,修改代码。
- 转到项目文件:https://github.com/Misaka-blog/cf-wkrs-pages-vless/blob/main/_worker.js ,点击复制按钮将文件内容全部复制,然后粘贴进workers中
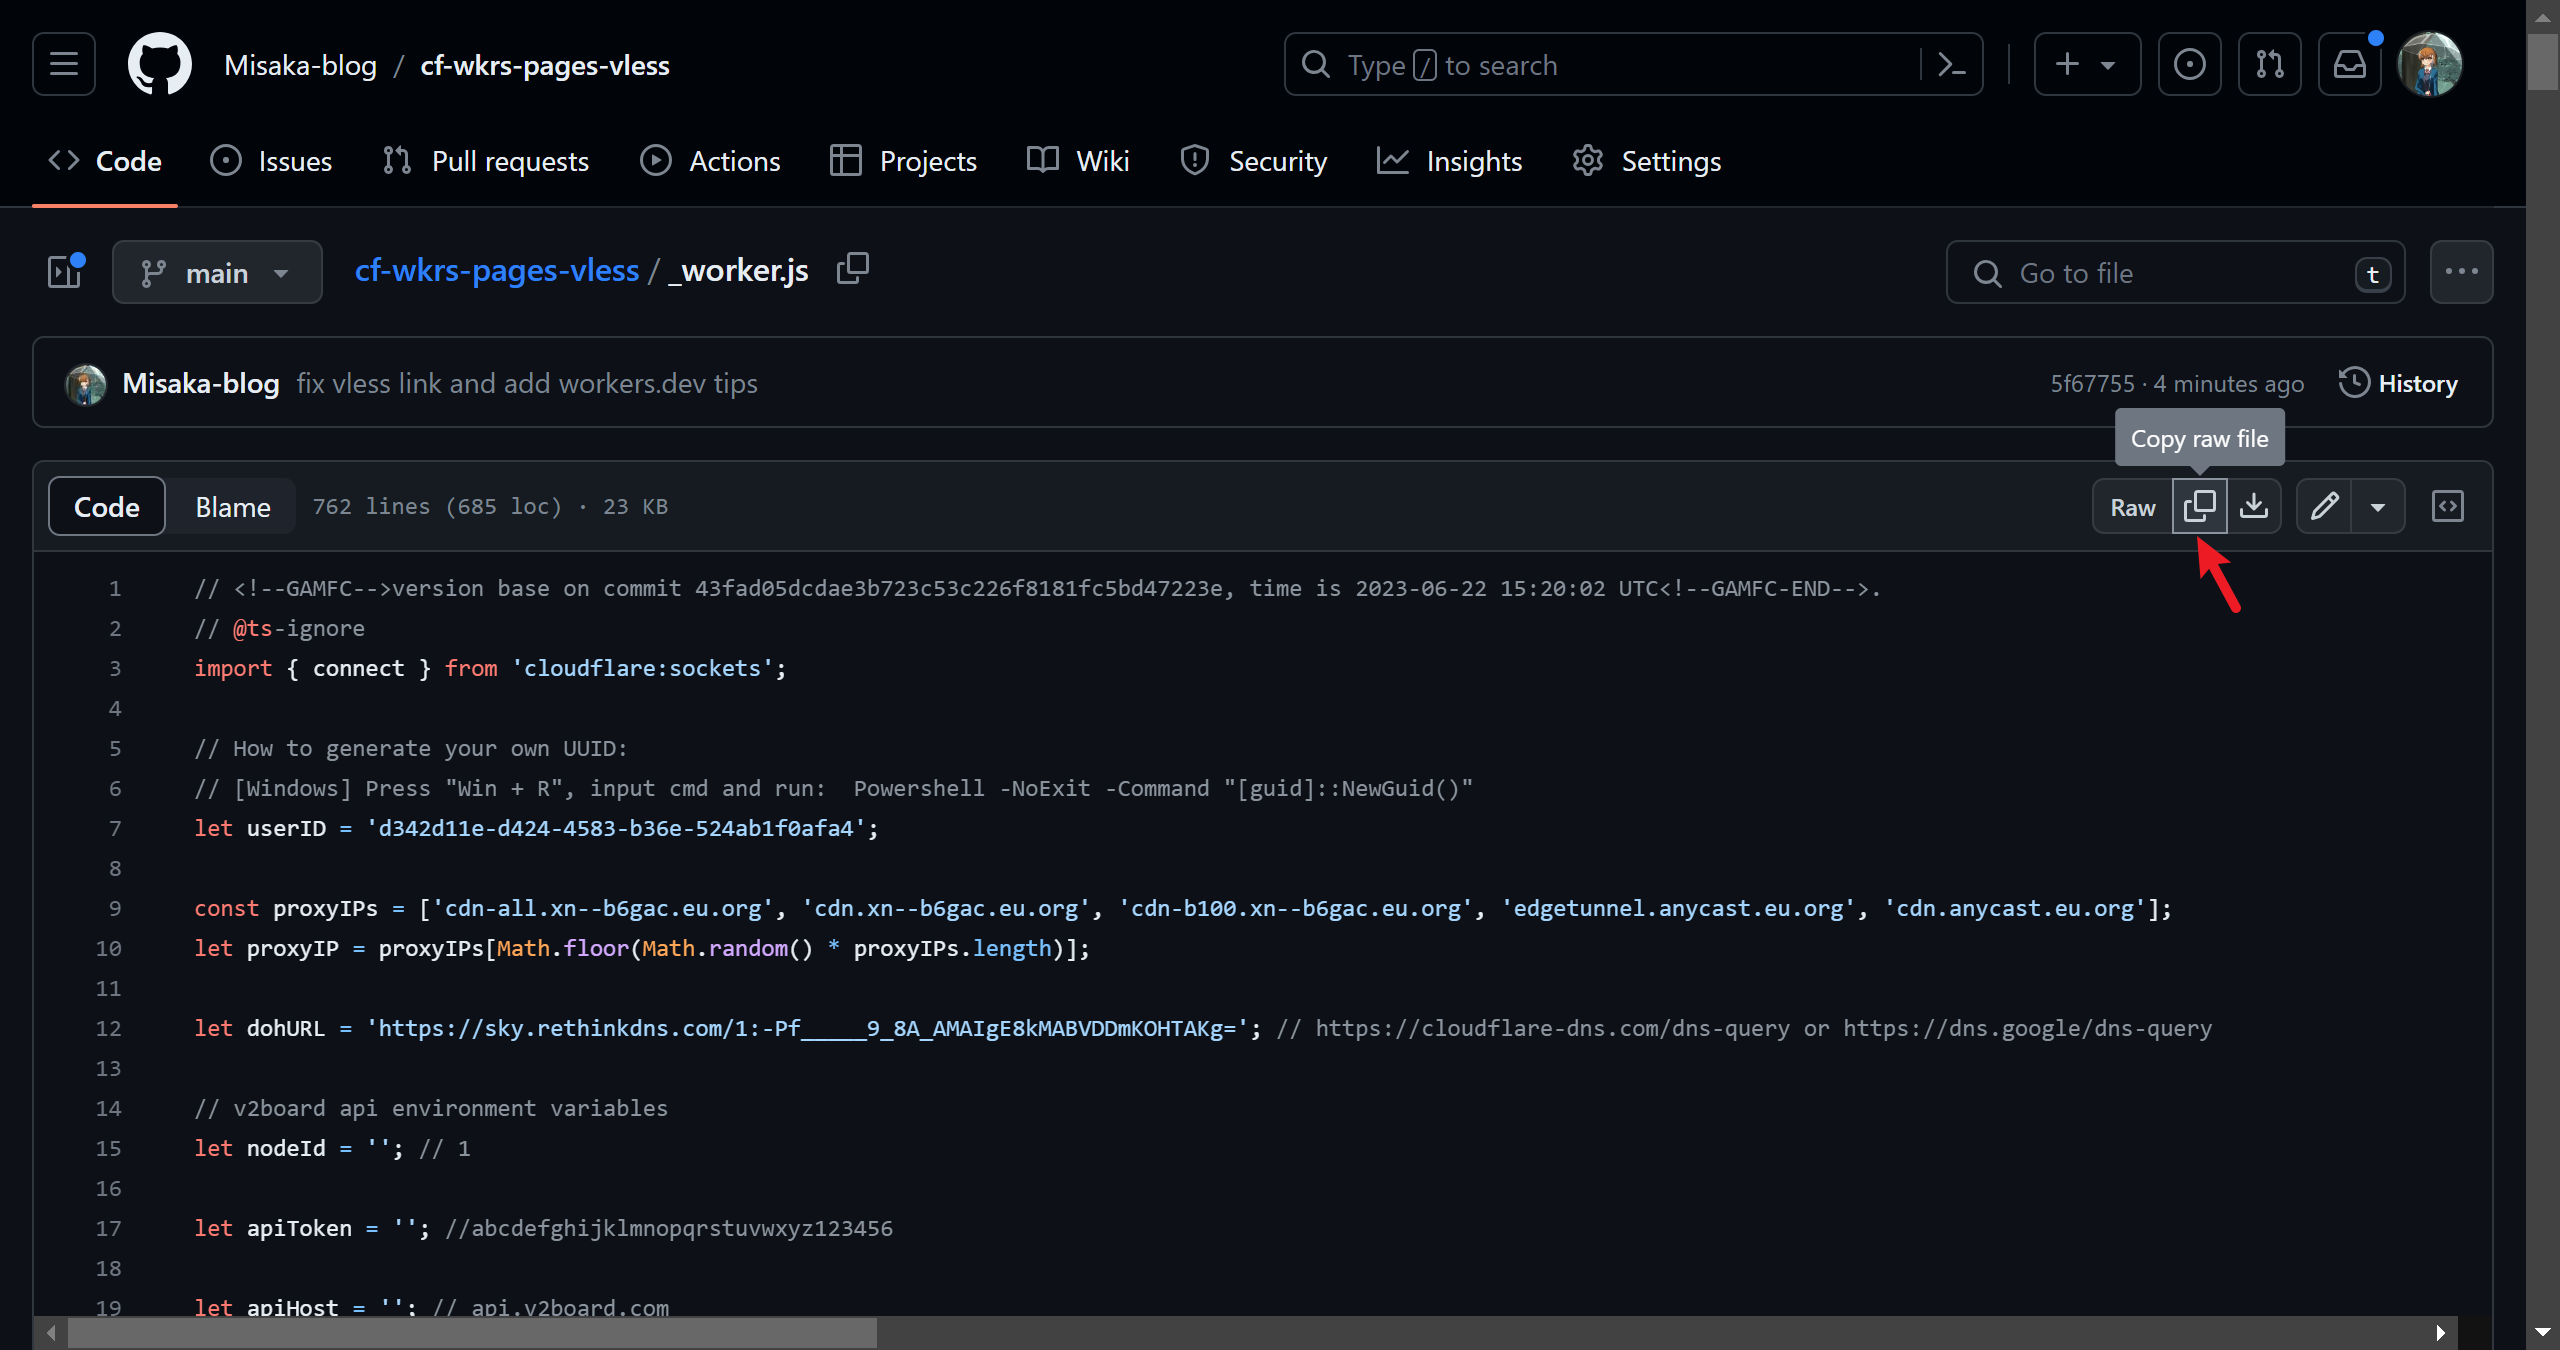
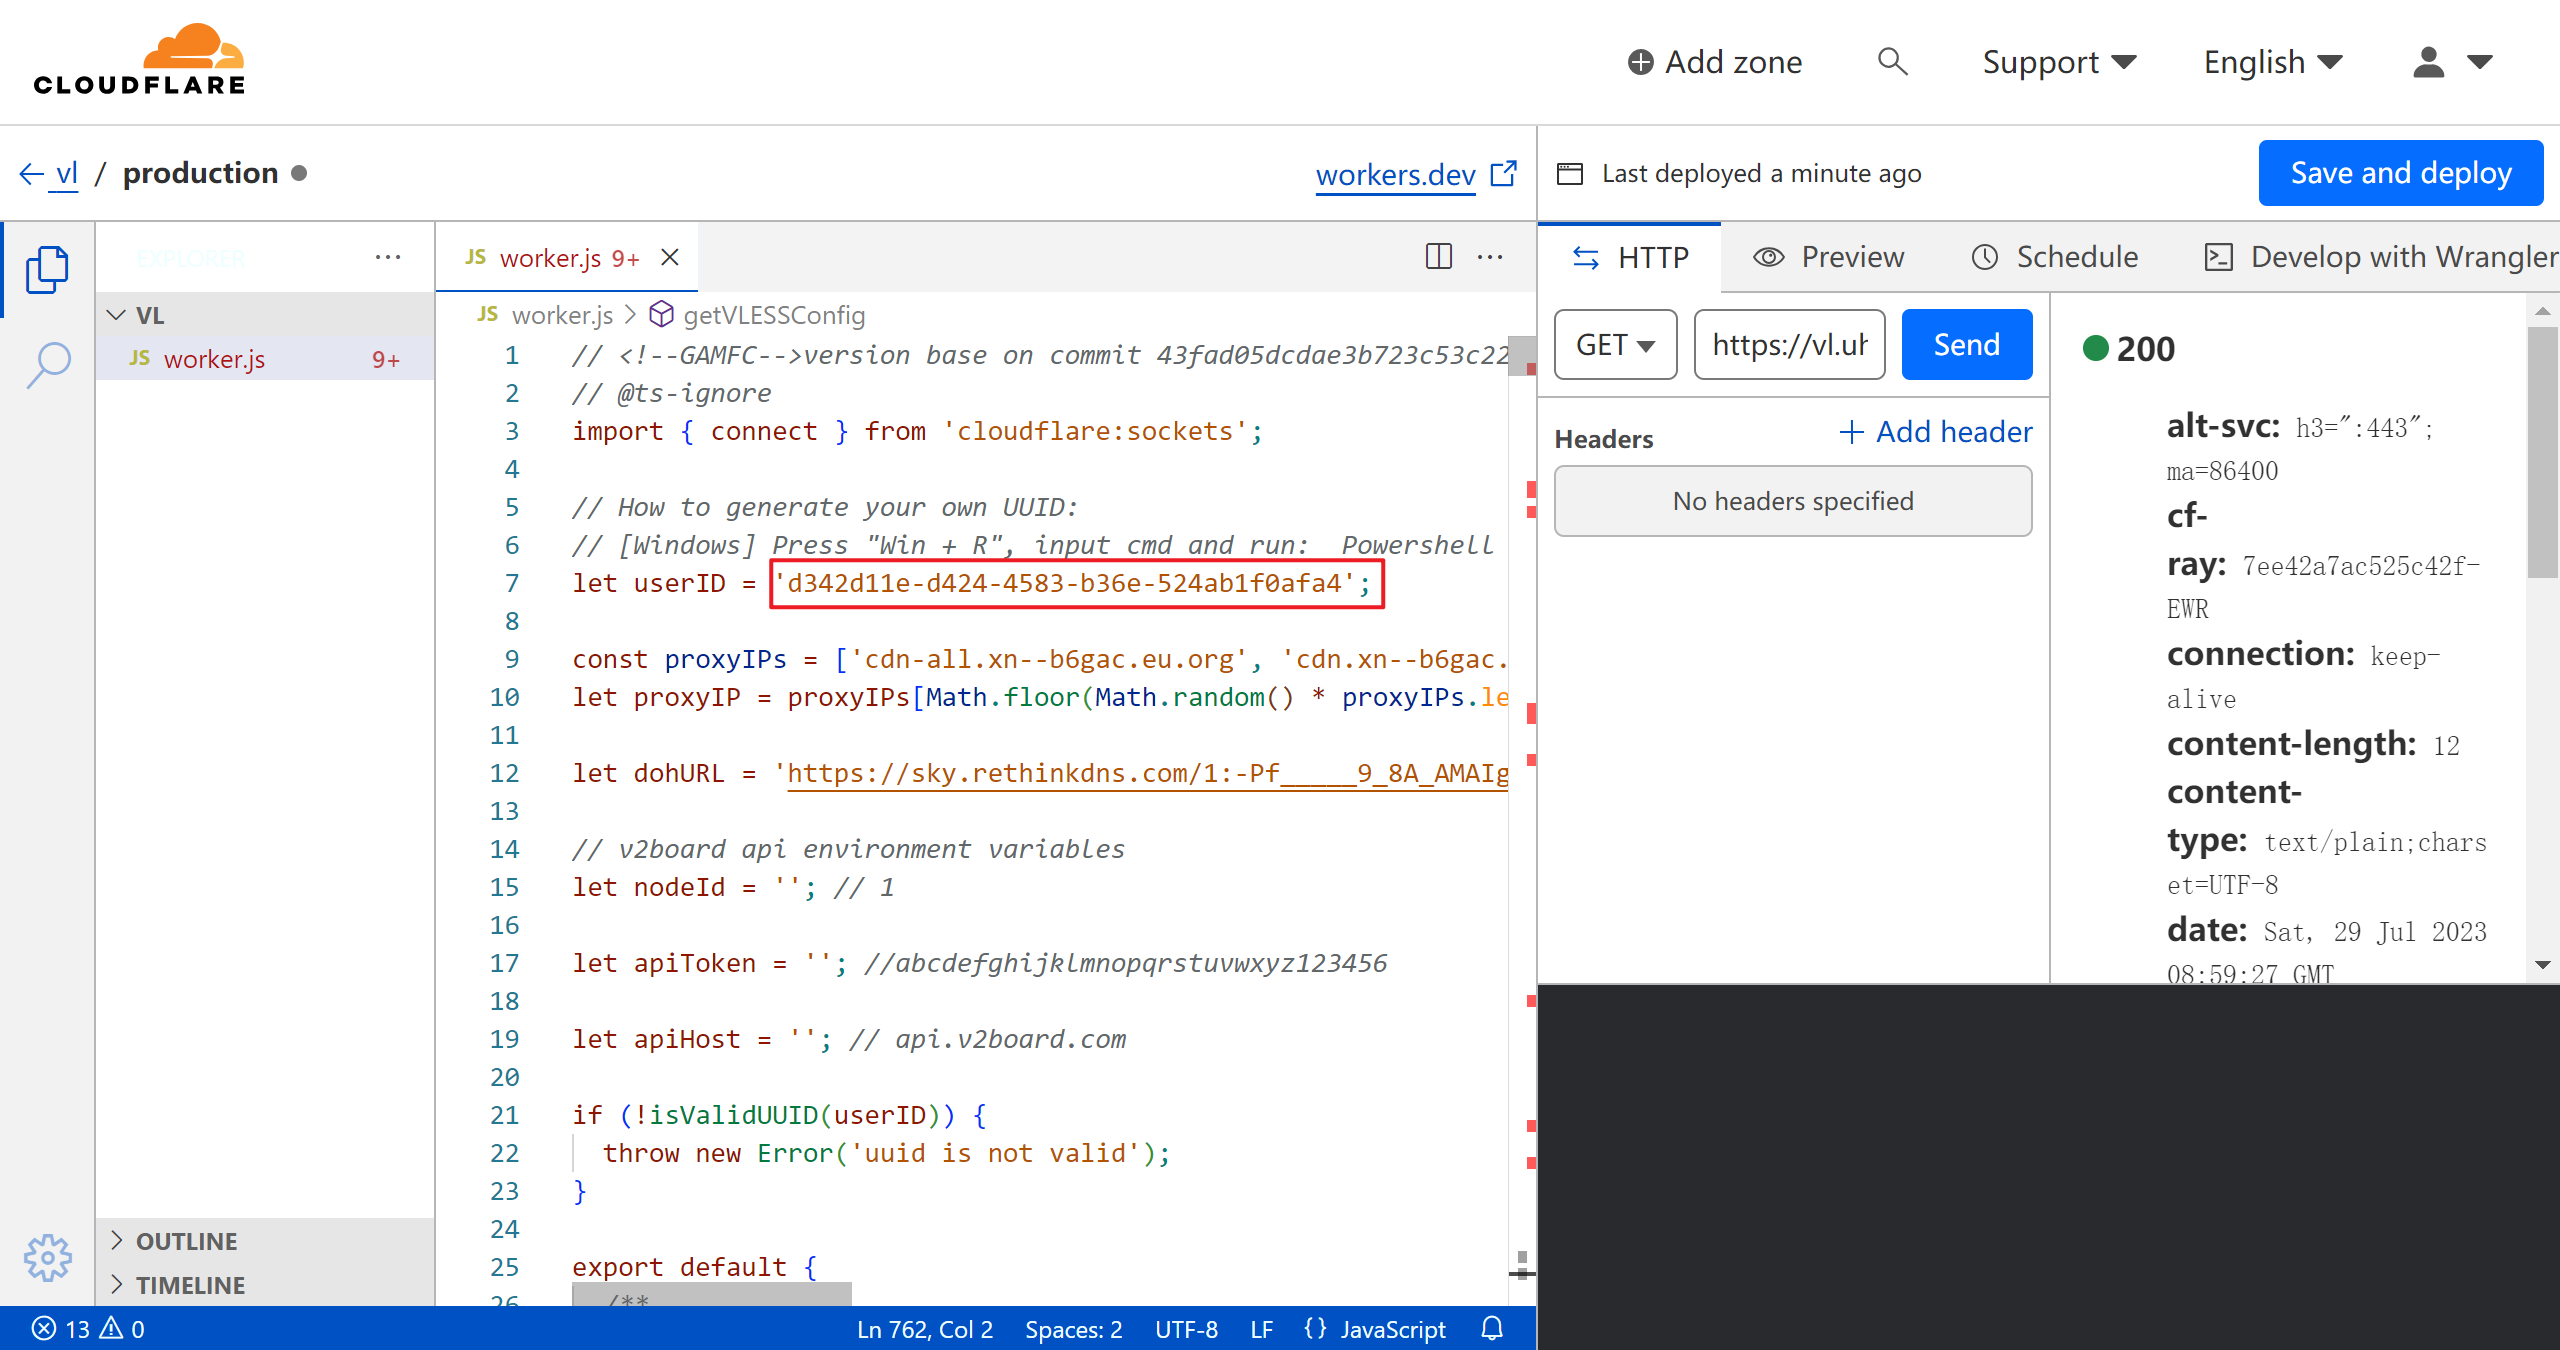
- 从 https://www.uuidgenerator.net/ 生成一个新的 UUID,然后替换第7行默认的 UUID,然后点击“Save and deploy”按钮,保存代码。
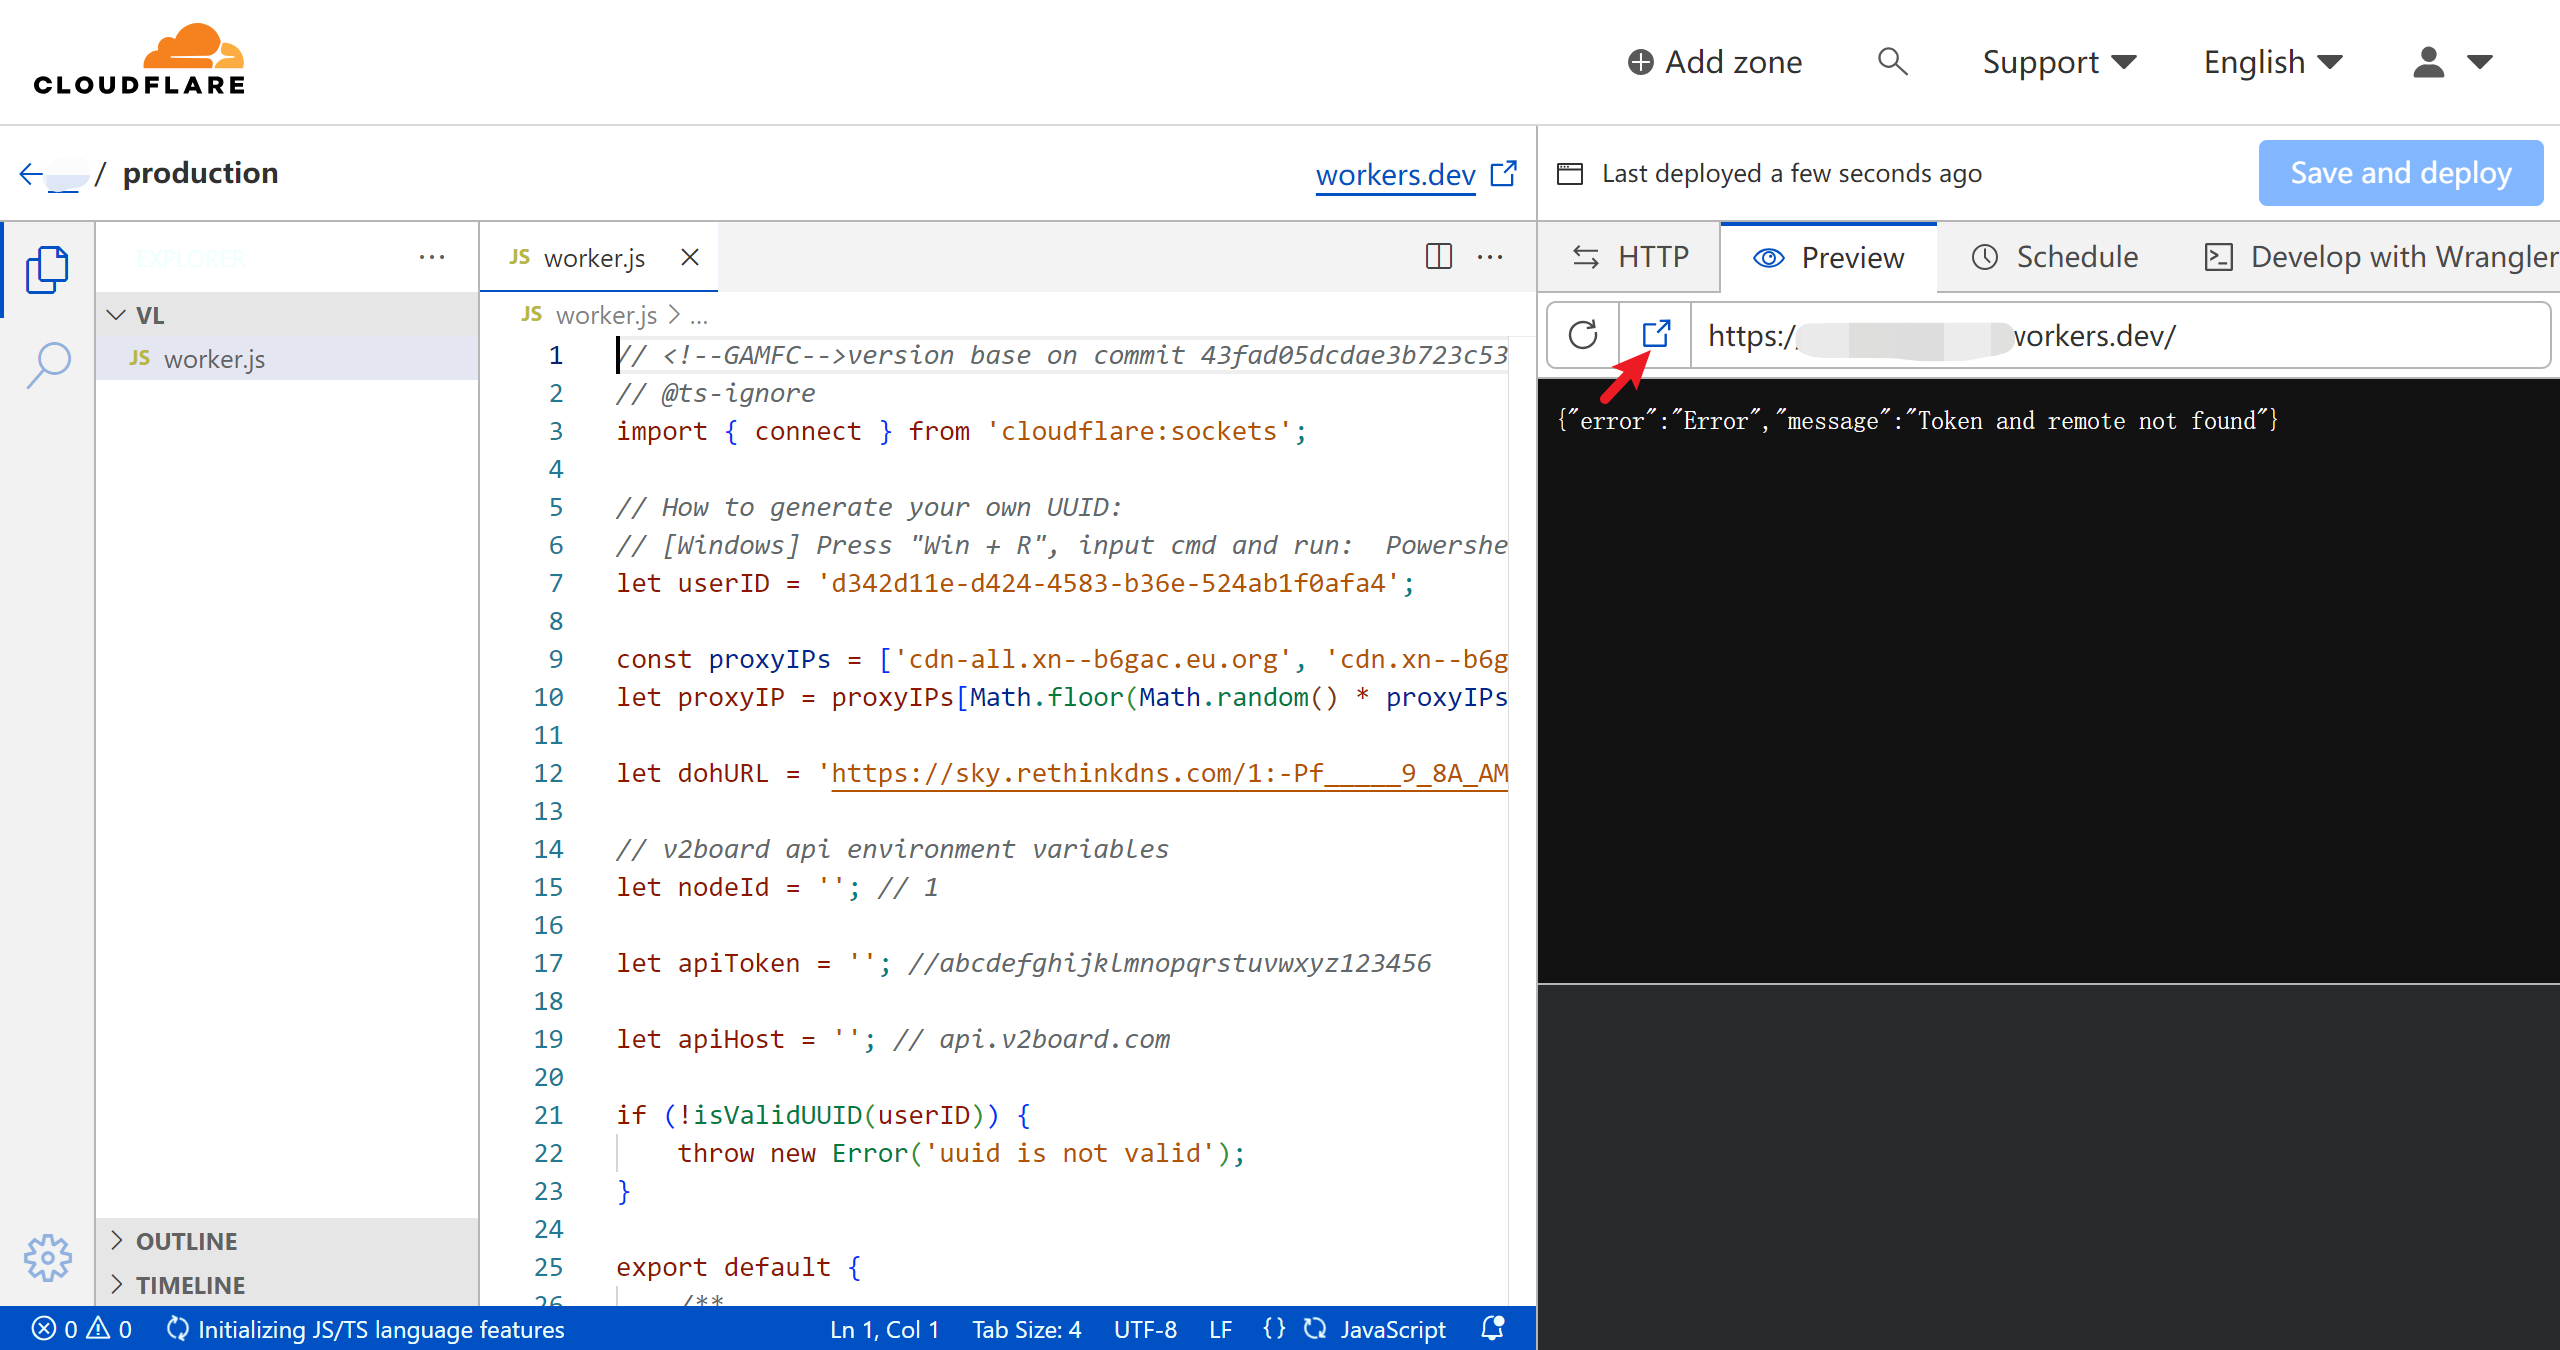
- 在右侧的侧边栏中,转到“Preview”选项卡,然后点击打开新窗口按钮
- 在访问的域名后面加上
/UUID(例如:https://edge.tunnel.workers.dev/d342d11e-d424-4583-b36e-524ab1f0afa4),可以得到关于 workers 节点的分享链接信息
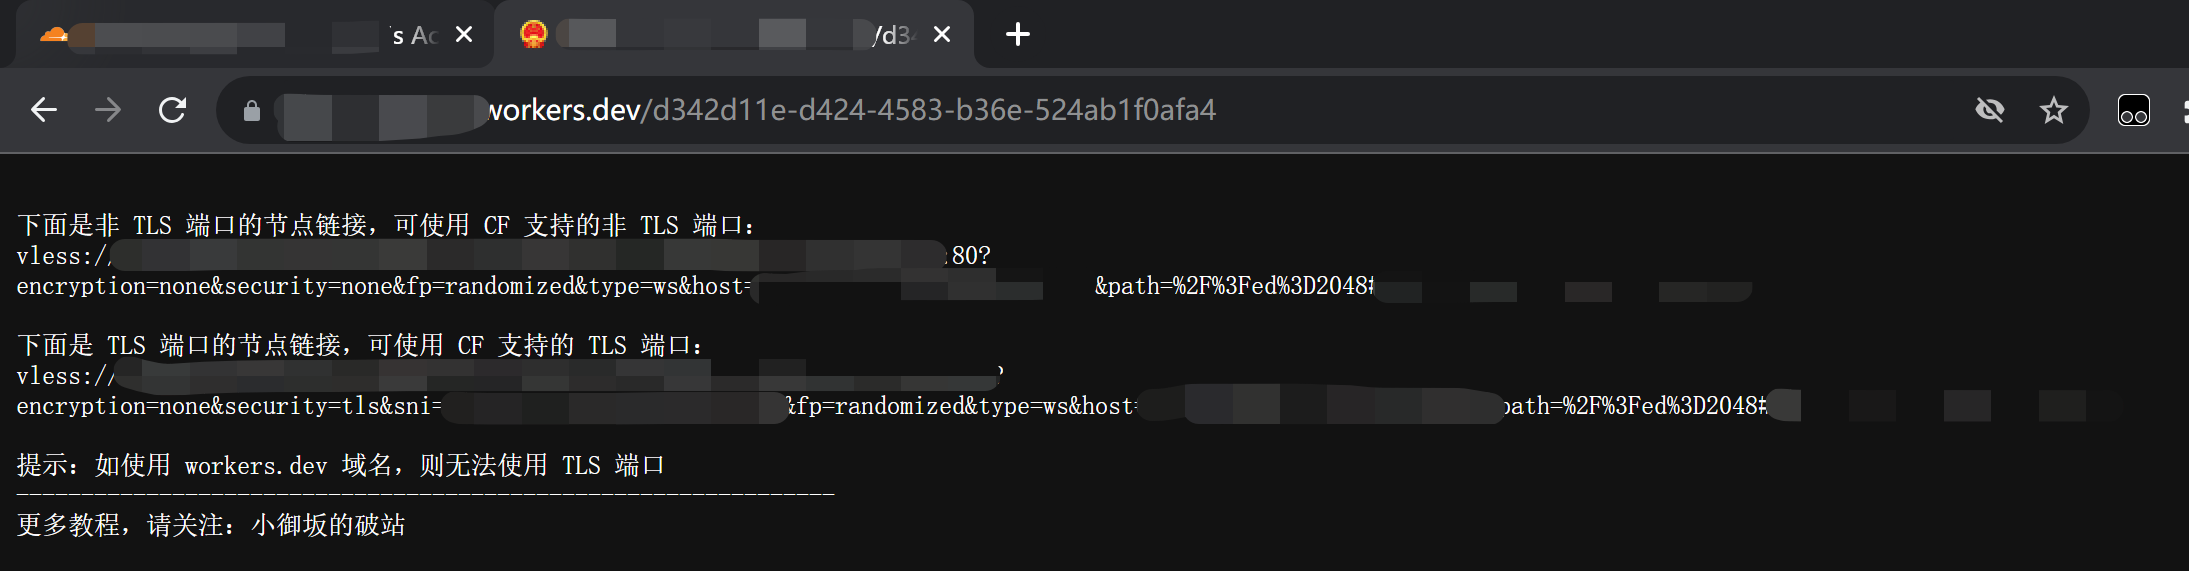
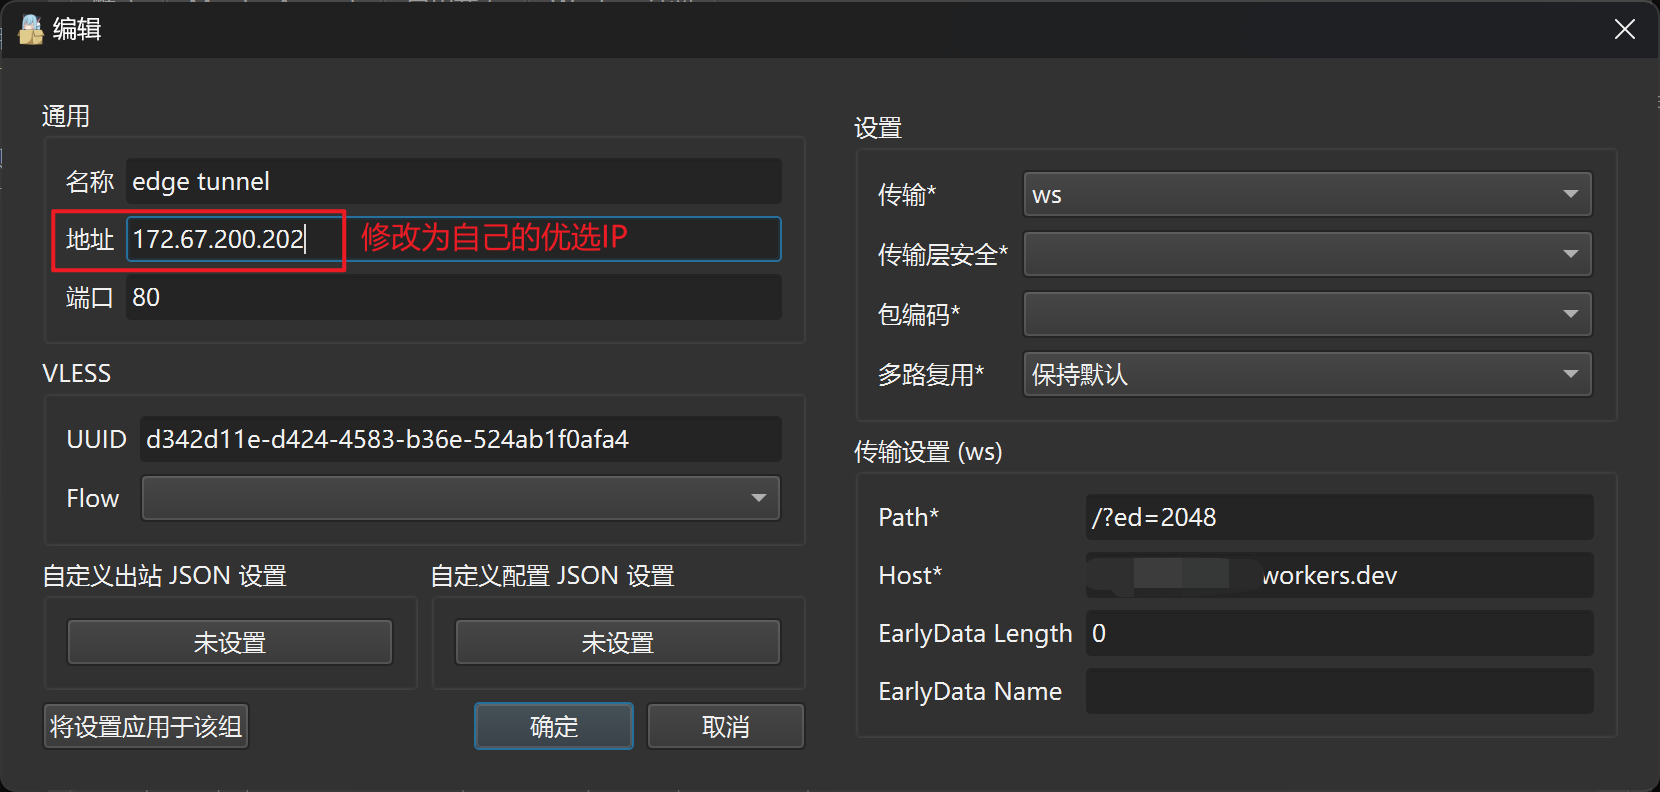
- 复制任意一条分享链接(如使用默认
workers.dev域名则只能复制非 TLS 端口的链接),导入至客户端。然后修改链接的IP为自己的优选IP
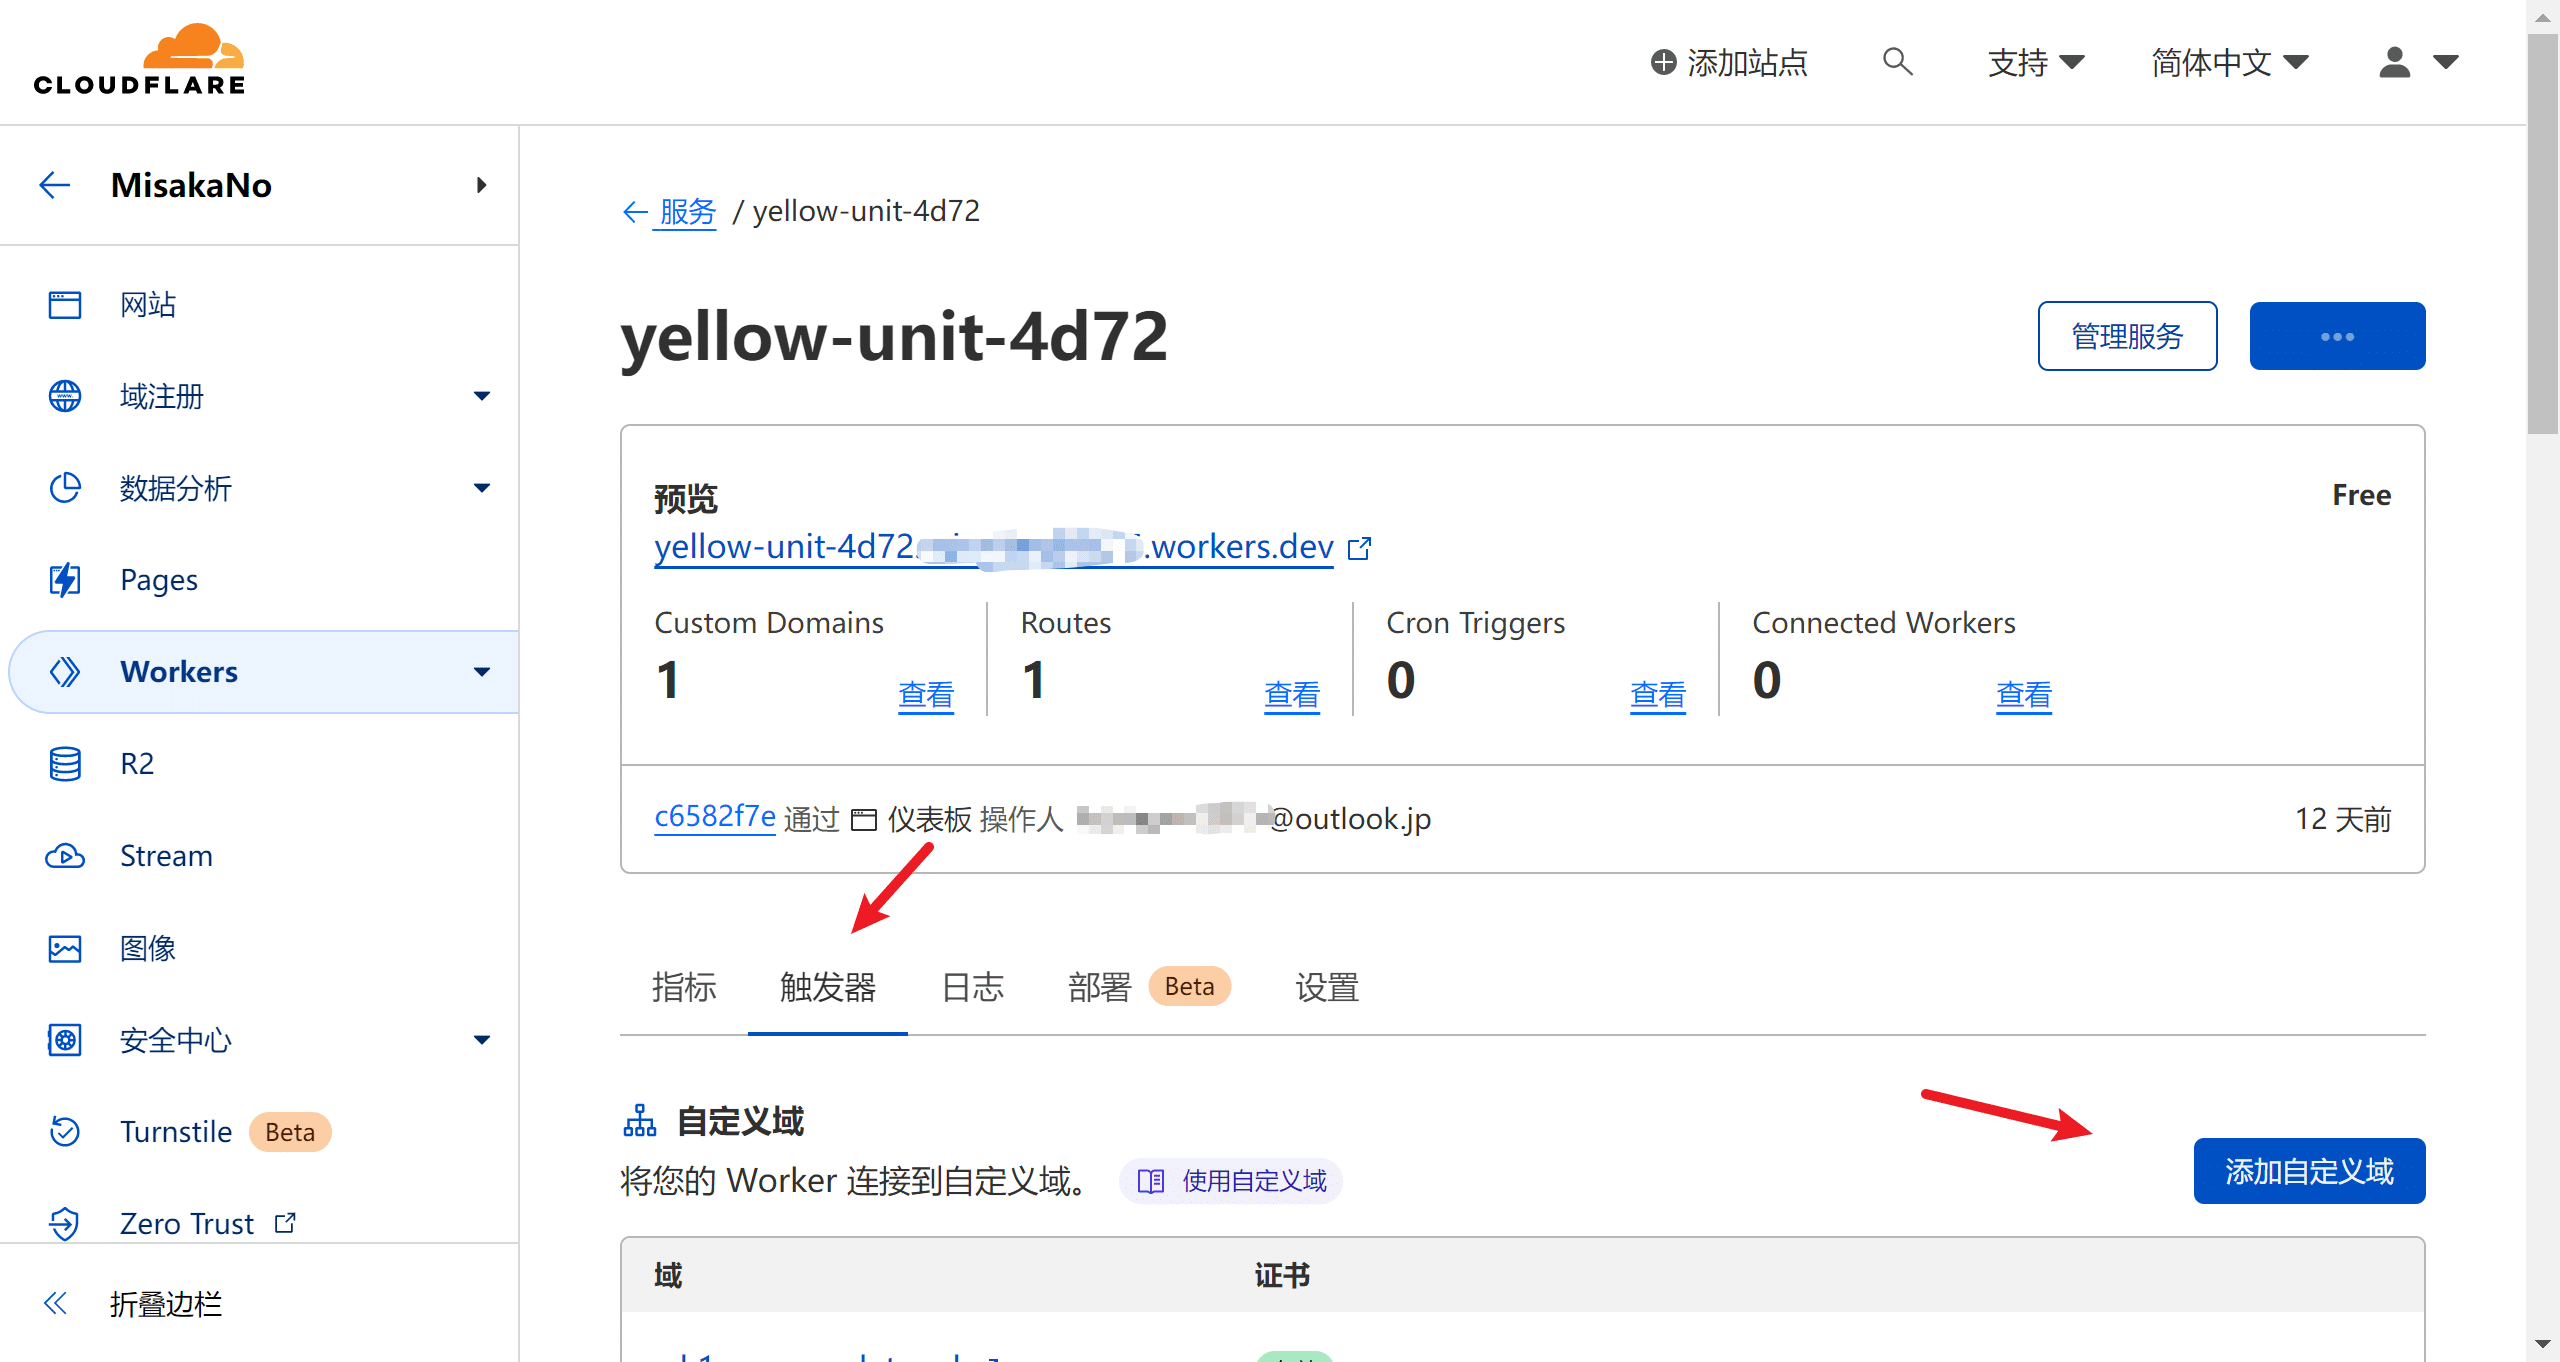
- 如需要绑定自己的域名,则转到“触发器”,点击“添加自定义域”
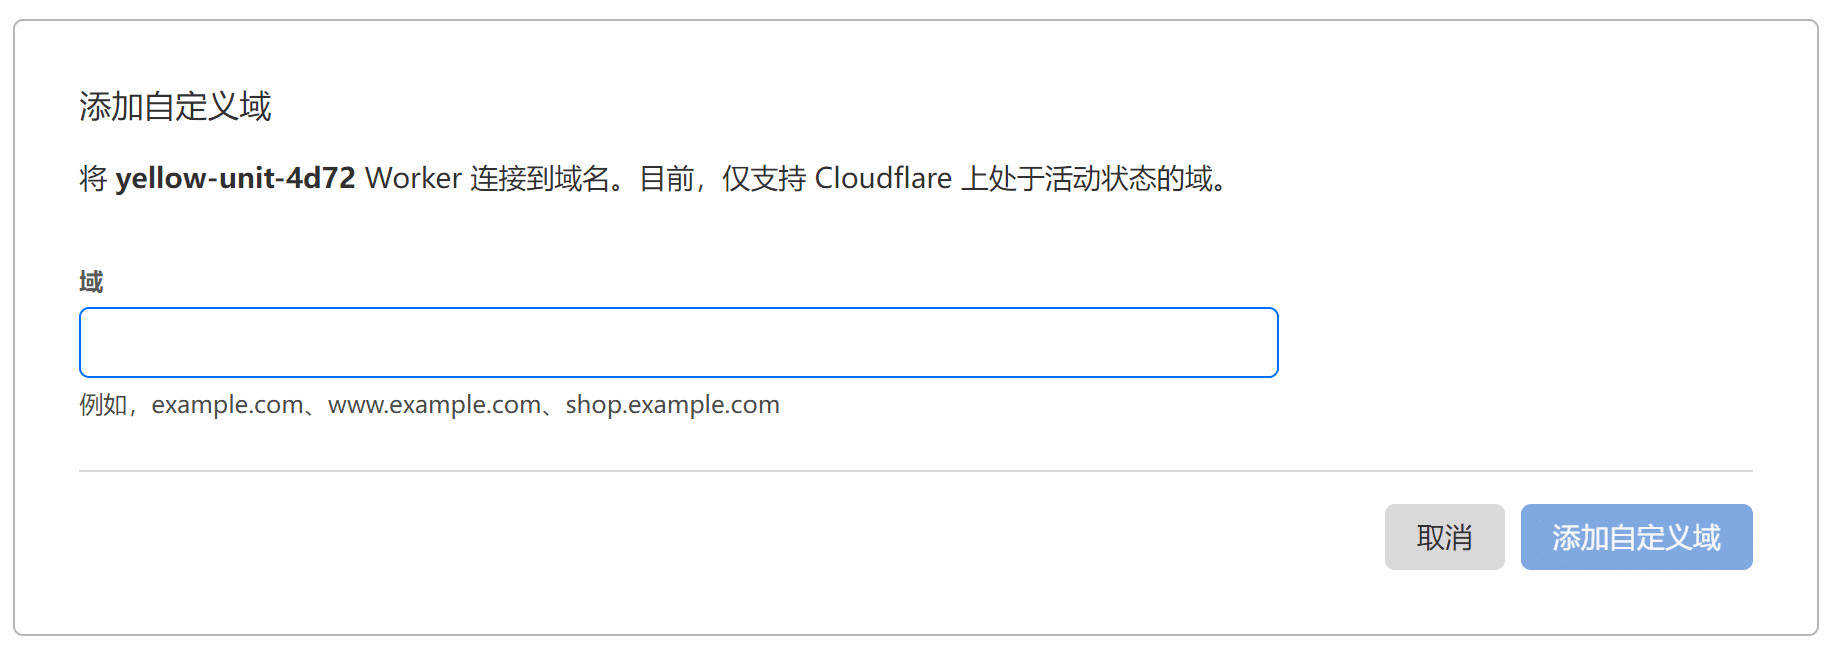
- 输入你想要绑定的域名(备注:一级域名需要绑定在CloudFlare账号里面)
- 作者:yaney
- 链接:https://yaney.top/article/example-13
- 声明:本文采用 CC BY-NC-SA 4.0 许可协议,转载请注明出处。